Delivery is not the end of an LED display purchase. It is the buyer’s best opportunity to confirm that the shipment matches the approved bill of materials and that transport has not introduced visible damage before installation begins. A receiving inspection does not need to duplicate every factory test. It should create a clear record, isolate shipping issues, verify basic operation, and protect the installation schedule.
Prepare the inspection before the truck arrives
Assign a clean, dry staging area with suitable power, lifting equipment, network access, and room to open cases without mixing components. Have the approved purchase order, packing list, cabinet layout, serial list, accessory schedule, and supplier contact available. Decide who can sign for delivery, who will photograph damage, and who can authorize opening crates.
If the installation date is close, schedule enough time to inspect and power a representative sample before equipment moves to the jobsite. Discovering a missing processor or damaged connector during overnight installation is far more disruptive than finding it in receiving.
Use a four-stage receiving check
On smaller screens, swipe horizontally to view all columns.
| Stage | What to check | Record |
|---|---|---|
| 1. Shipment condition | Case/crate damage, moisture, shock indicators if supplied, seal condition | Wide and close photos before opening |
| 2. Quantity | Cabinets, modules, processors, cables, spares, tools, documentation | Count against packing list |
| 3. Physical inspection | Frames, corners, locks, connectors, modules, masks, doors, labels | Serial/item number and defect photo |
| 4. Functional sample | Power-up, data path, test patterns, basic brightness and color response | Test setup, result, video/photo |
Inspect packaging before opening it
Photograph every side of any damaged case or crate while it is still in the carrier’s custody. Note crushed corners, punctures, broken wheels, bent latches, water marks, or shifted pallets. Follow the carrier and supplier’s notification process promptly. Do not discard packaging related to a possible claim until the responsible parties advise that it is no longer needed.
Count complete systems, not just cabinets
A cabinet count can be correct while the system is incomplete. Verify sending and receiving hardware, video processors, fiber converters, power and data distribution, hanging or stacking hardware, trim, spare modules, spare power supplies, service tools, and all specified cables. Match quantities and part descriptions to the final approved submittal, not an early quotation.
Check high-risk physical details
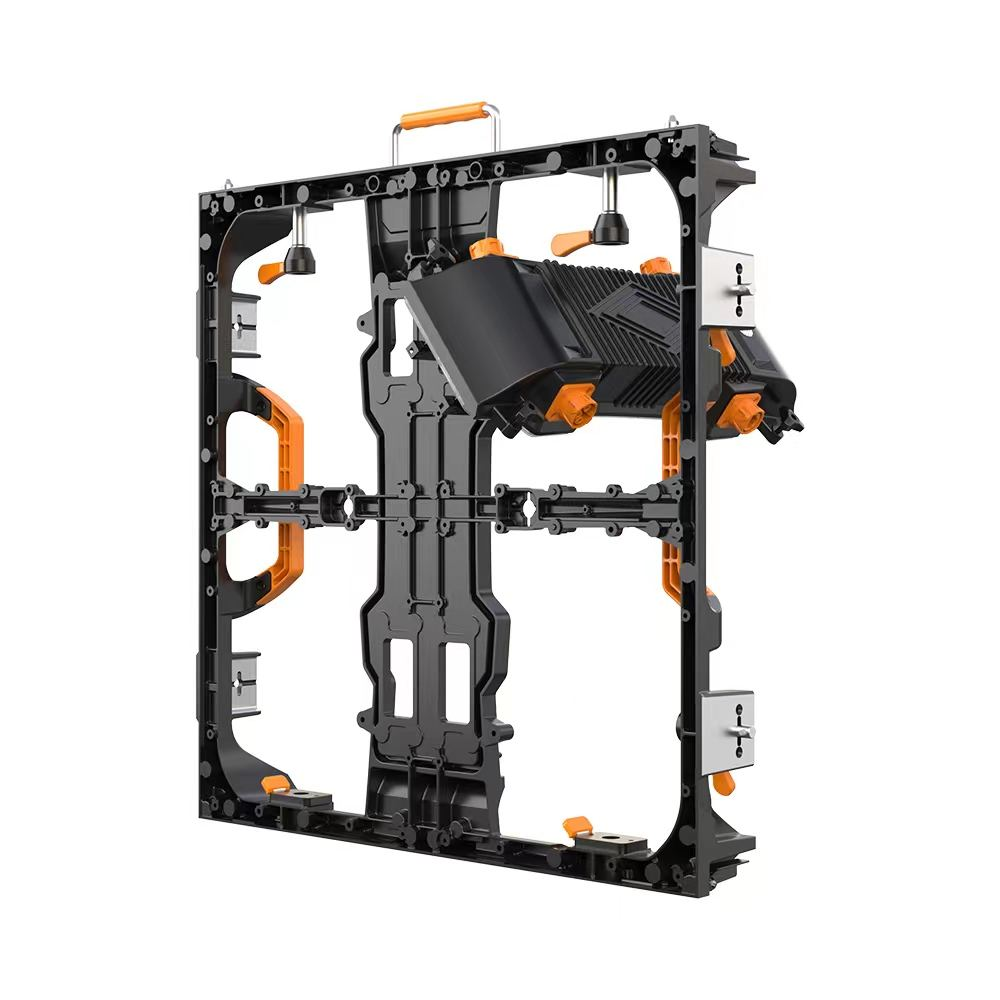
- Cabinet corners, alignment pins, locks, handles, and threaded inserts.
- Module faces and masks for impact, scratches, loose parts, or contamination.
- Power and data connectors for bent contacts, cracked shells, or poor retention.
- Rear doors, gaskets, fans, vents, and cable glands where applicable.
- Labels and serial numbers against the supplier’s shipping record.
- Accessories packed inside cases where movement could cause hidden damage.
Run a controlled functional sample
Use the supplier’s instructions and qualified personnel. Confirm input voltage and grounding before energizing equipment. The international safety standard IEC 62368-1 covers safety requirements for audio/video and information technology equipment, but the exact certifications and local installation rules for a project must be verified separately.
For a sample wall, load solid red, green, blue, white, gray, and black patterns. Look for dead or abnormal pixels, module-to-module color differences, flicker, intermittent data, fan noise, and unusual heat or odor. Test a few spare modules and key accessories so they are not first used during an emergency. Do not attempt unauthorized repairs that could complicate a freight claim or warranty review.
Choose a defensible sample
Small projects may justify opening and visually checking every cabinet. Large shipments may need a documented sample plus targeted inspection of any case showing damage. Spread the powered sample across pallets, crates, cabinet batches, and positions within cases rather than testing only the easiest units to reach. If any serious or repeated fault appears, pause and agree with the supplier on an expanded sample or full inspection.
Record the sample plan before testing so the result is repeatable. Include cabinet IDs, accessories used, software versions, power conditions, test duration, and the person performing the check. A short video of the test wall and control setup can be more useful than isolated photographs when diagnosing intermittent behavior.
Create a defect log suppliers can act on
Each issue should have a unique number, item model, serial number, case number, description, photo or video, test condition, and disposition. Separate freight damage, quantity discrepancies, cosmetic issues, and functional faults. A precise log speeds decisions about replacement parts, repair, credit, or on-site correction.
Connect receiving results to installation acceptance
Receiving inspection confirms delivered condition; final acceptance confirms the installed system. Keep the receiving record and repeat relevant checks after mounting, cabling, configuration, and calibration. The project acceptance plan may also cover image alignment, brightness, uniformity, redundancy, input switching, control access, documentation, training, and spare inventory.
Define acceptance tolerances and remedies in the purchase documents wherever possible. Terms such as “good uniformity” or “no visible defects” can be interpreted differently. A useful plan names the test content, viewing positions, measurement method where applicable, responsible witnesses, correction period, and conditions for provisional or final acceptance.
Preserve configuration and handover records
After acceptance, archive processor files, receiving-card configuration, calibration data, cabinet map, serial list, network settings, software installers, manuals, training records, and the final spare count. Store a controlled backup outside the display controller. Good records shorten recovery when a controller is replaced or a future technician inherits the system.
Review KSSdisplay’s LED display quality-control process, available support resources, and product families while building your project checklist. For an order-specific inspection plan, contact KSSdisplay with the approved bill of materials, shipping method, and installation schedule.